Sunday, May 31, 2015

Tri-tip with HOLY COW rub.

I was wanting to try a new rub on some of my bbq. Looking for people's other experience with different rubs I kept hearing a name come up. MEAT CHURCH. Talk about a great name. You can find their products Here. I got an opportunity to try their holy cow rub.


I bought what was supposed to be tri-tip from 2 different locations. They appear to be different. Both turned out to taste good. 


The beef was rubbed with olive oil before applying the rub. I applied the rub heavily and evenly to all sides of the meat. 


Let the meat sit at room temperature for about half an hour at room temperature before putting on the bbq (my Big Green Egg)

I decided to do a reverse sear on the meat tonight. It is a process in which you cook the meat to temperature at a lower temperature, pull the meat off for about 30 minutes, raise the temp as hot as you can in the grill, then sear the steak for 90 seconds a side. 

This is the set up with the heat deflector and drip pan. Elevated grate. 


The tri-tip was cooked to 142* and 147* to achieve medium well. The family would not let me cook to medium. Once the temperature was achieved the meat was removed and set in a pan on the counter and covered with foil. Remove the heat deflector and crank that grill temp up. 


This is a top down pic of the coals. I put a cast iron grate down low by the coals.  I achieved 700 degrees at the top of the dome when I decided to put the meat back on. Seared 90 seconds on each side. 


Finished shots. 


One was more pink than the other. I think the reverse sear works very well on steaks. The Holy Cow rub worked very well on this dish. I can't wait to try more products from Meat Church in the near future. (Ribs with their Honey Hog rub) 


Finished product. Tri-tip with rice and Apple cinnamon rings. Delicious!


Sunday, April 26, 2015

Drumsticks


We decided to do one of the family favorites tonight. The kids just love them. We did some with bbq sauce and some without sauce. The ones without turned out better. 


We picked up the chicken not long before the cook. Usually we leave it uncovered in the fridge for at least 24 hours to help provide a crispier skin. Well being short on time we improvised. We mixed our rub and corn starch to make the skin crisp.


 (Excuse my dirty hand, that is from lighting the bbq)
1 part corn starch to 3 parts rub.


I really like the dizzy pig rubs. This is one of my favorites for chicken. It has just a little heat to it. The name of it is tsunami spin.


All mixed up. This is not enough for all the chicken we bought. I just wanted to show how it mixes up. Just follow the 1 to 3 ratio. 


All the chicken rubbed. About 1/2 before it goes on.


On the bbq. It is a direct cook. High In the dome of my Big Green Egg. 350 degrees. It takes about an hour but I cook till internal temp reaches 195. 


Almost done. We sauced some of them. I should have waited to sauce them a little longer. Last 10 minutes or so. Because I sauced earlier it burnt a tad. We used Sweet Baby Rays bbq sauce this time. It is a Sweet sauce the kids usually like.


The final result. Like I said I sauced too early causing the sugars to burn in the sauce. Overall it was a good cook though. Next time we are not going to sauce. The rub and cherry wood was plenty bbq flavor. The sauce just covered that up. 


Sunday, February 2, 2014

Lighting the grill

I just got a weed burner to light my grill. It is not necessary but it is nice. I was lighting my grill with a Map gas torch. This would put my hand directly over the coals while holding a tank of gas. While most likely it would not be a problem but you can not be to careful. This new way places me farther away from the coals. It also allows me to light the coals quicker and more evenly.


Some other ways to light your grill are using fire stater cubes.


Charcoal chimney starter.

A looftlighter

An electric lighter.

Or just a paper towel soaked in vegetable oil. Then lit with a lighter while resting in the coals. 


Thursday, January 30, 2014

Cool New Accessories.

I wanted some new accessories. I wanted more surface area for my cooks. This system allows for a great variety of set ups. Everything was purchased from This store. We could not be happier with the products. Fit and finish are top notch. Better than most of the BGE accessories. The system performs better than expected. Should last for years to come.

Unboxing 2 set ups. One for me and the other one for my brother in law.

This looks confusing but it is not. I will break it down component by component. Sorry for the long post. 

This is called the spider.

The spider sits on the fire ring and it can do a few things for you. It will hold a Wok if you like to stir-fry. It also sits closer to the lump so you can put a grate on it to get a good sear, at the heigh temperature by the coals. The other thing you can do is put a stone on it to use it as heat deflector. This creates the indirect heat you need for great BBQ. 

This is the cast iron grate I use to sear my steaks on. 
The Grate is from a small BGE.
Sitting on the spider. 

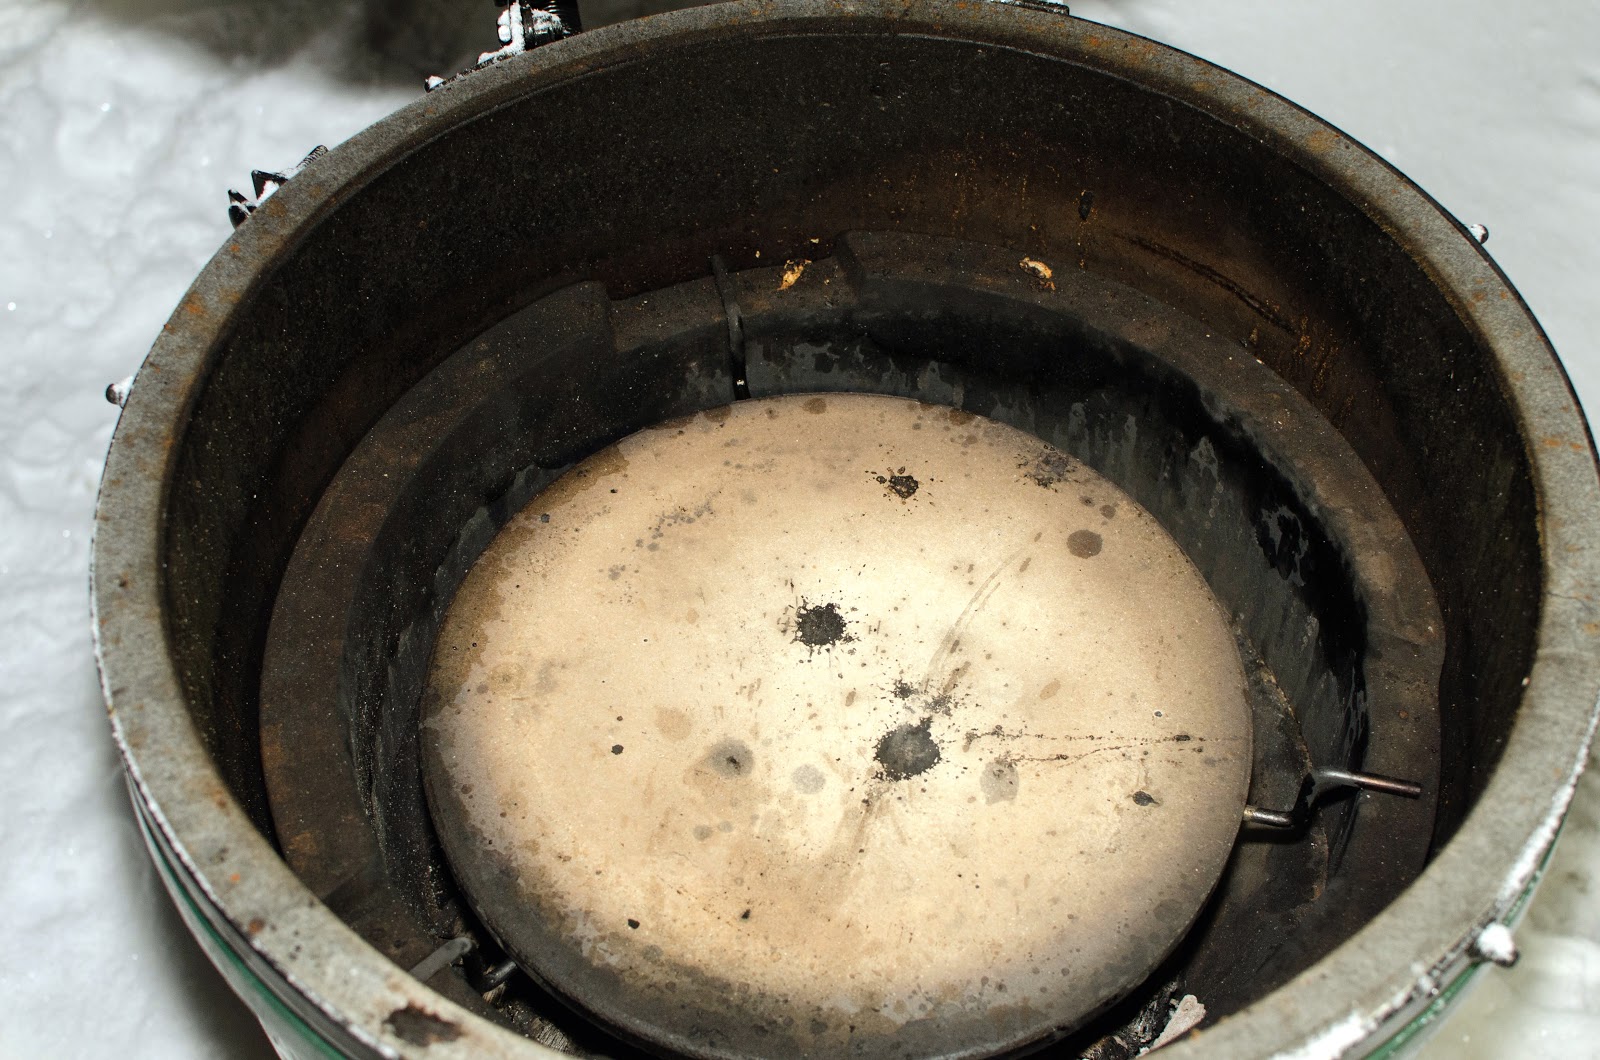
The stone is from the store listed above. Great heat deflecto. Heavy duty. 

My dirty drip pan. Still full of solidified dripping from last cook. Sitting atop the stone. Some will add a spacer between the stone and the drip pan. Like 1/2 copper elbows. 

This to the mane peace of the system. It is called the adjustable rig.
Those notches hold bars that you set your grates on. 3 adjustable heights. 

Adjustable rig sitting on the fire ring.

Rig with original grate. Notice it sits well over the felt line.
Nice so you do not have to reach down into the BGE to tend the food.

This is what is know as the sliding grid. It holds a grate.
What is a little different is that it allow an oval rack to slide out.

Oval grate on sliding grid. Only the oval grate will slide out.

Grate slid out. Only works on highest setting of rig.

This is called the rig extender. (Sitting on to of the rig)
It moves the top rack higher. This is great for pizzas. It also provides more room underneath for larger cuts of meats. 

Good view of the extender on top of the adjustable rig. Notice that both grates are oval in this set up. The reason is if I am doing meat I may want to rotate grates. Just pull on out and slide it into the others place.  No need to remove meat from the grate.  Also the rig is set at the highest notch. This allows the grate to slide out without lifting the whole rig out. I can cook 4 racks of ribs at the same time with this set up. Lying flat.

Almost the same set up. The lower grate is set at the lowest point now. This is the way I do my pork butts. Depending on the butt size I can fit 2 to 4 no problem.  I prefer to do 2 butts that are about 10 lbs.

This Lower edge of the D-grate runs along the top of the extender allowing it to slide back into the dome to allow access underneath it.

This is the D-grate in standard position. Notice the front edge is flat. The allows access to items underneath it without moving it much.  It is also a good way to add more wood to the fire without removing the whole setup. 


2 pics of the d-grate slid back into the dome. This is nice if you have a full grate on top. Just slide back the top grate, tend whatever you are cooking on the lower grate, then return to normal cook positions. 


Wednesday, January 29, 2014

Sea Turtle Eggs

These have been done before but the recipe I followed was from Here. It is a good appetizer alternative to JalapeƱos  poppers. 

The ingredients are :

1 lb Jimmy Dean Sage Breakfast Sausage, cut into 10-11 slices
1/2 cup cream cheese*
1/2 cup shredded colby-jack cheese
2 jalapeno chile, de-seeded and finely diced
1 1/2 tsp your favorite BBQ rub (divided)

Instructions 
  1.  Preheat a charcoal grill set up for indirect heat to 250f.  Add a chunk or two of cherry, hickory or whatever smoking woods that you have on hand.
  2. Mix the cream cheese, cheese, jalapeno and 1/2 tsp of BBQ rub together.
  3. Place about 1 tsp of the cheese mixture on each slice of sausage.  Pull up the edges of the sausage and seal, forming it into a round, golf ball sized "egg".  
  4. Season your "eggs" with the remaining 1 tsp of BBQ rub.
  5. Smoke the "eggs" for about 90 minutes. 
I take no credit for this recipe. Info in the link.

Turned out really well.

These were a hit at the party we attended. 

A Few Observations

I am tired of maneuvering my BGE ( big green egg) out of the garage. So I came up with this until it warms up to build a proper table.
  It is a stone set on a furniture dolly. 

The egg does not get that hot but the stone is stamped concert so the little heat is not a problem. It is a little top heavy so when I move it I have to take it slow. Just like BBQ

The other thing I noticed is that in these winter months I was BBQ in the dark at 5 pm. So I came up with this ugly assistant. 
She ain't pretty but she is mine.

It hold the light and all my accessories while I cook. It stays in the garage where it won't offend my neighbors when not in use. 

First Cook

The first cook was a quartered chicken. We used some dizzy pig rub on it. It cooked at 275*.  I do not cook by time but to temperature.
Turned out well for first cook. 

The chicken was so juicy my wife thought it was undercooked. I had to prove it to her using an internal temperature reading.